Real Estate Branding
November 25, 2024
Never Heard of Luxury Real Estate Photography? Know Why It Matters
December 17, 2024Hiring a professional real estate photographer is not a first choice for everyone.
And there are several reasons behind it.
Some real estate agents or homeowners prefer to give it a try themselves. Others may not have the budget for professional services. In some cases, the property might be too small or simple to justify hiring a photographer.
Whatever your reason, we’ve put together some essential real estate photography tips to help you get great results on your own.
First of All, Things to Focus on for Real Estate Photography
Anyone can take photos of their property – all you need is a camera to snap away. Right?
But what makes real estate photography different than amateur are some key elements. It is a blend of art and science. The goal is to showcase the property’s features in a way that attracts potential buyers. To do this, you need to blend good composition, proper lighting, and thoughtful staging.
By putting these key elements into practice, you can highlight the striking features of your property and evoke a sense of lifestyle that can inspire buyers.
Getting Started with Real Estate Photography
Here are some important factors to consider before you start taking photos:
- Use the Right Equipment
The equipment you use will have a big impact on the quality of your photos. You don’t need a super-expensive camera to take good real estate photos, but using the right tools is essential. Here are some recommendations for what you should have in your kit:
- Camera for Real Estate Photography: A DSLR camera is a good choice as it offers manual control, fast response times, and flexibility in post-editing. It’s important to use a camera that can shoot in RAW format for better control over editing.
- Wide-Angle Lens: A wide-angle lens is essential for capturing spacious shots, especially in tight rooms. It helps to show the entire space and avoid cropping out important features.
- Tripod: A tripod ensures stability and consistency, especially for long-exposure shots and in low-light conditions.
- Flash: Invest in a flash if you’re shooting in rooms with poor lighting. It helps brighten dark corners and ensures more even lighting throughout the image.
- Remote Trigger: A remote trigger can prevent camera shake and help you achieve sharp, clear photos, especially for long exposures.
- Consider a Drone for Twilight Real Estate Photography: If you want to capture aerial shots of the property, a drone can provide stunning views and add value to your portfolio of images. This is especially effective for larger properties or those with beautiful surroundings.
- Learn Basic Photography Composition
Composition is about how you arrange elements within the frame. Proper composition can turn an ordinary shot into something extraordinary.
Among the most helpful compositional guidelines is the “rule of thirds.” Consider utilizing two horizontal and two vertical lines to divide your image into nine equal portions in order to apply this guideline. To achieve balance, arrange the room’s main elements along these lines or where they meet.
For instance, to create a focal point in a living room, position the sofa along one of the lines or make use of a feature like a fireplace.
Additionally, you can use architectural elements like doorways or windows to frame your subject and create depth in your photo.
- Choose the Best Time to Shoot
When taking real estate photos, timing is crucial. A property’s appearance in photographs is greatly influenced by natural light.
- East-facing properties: Shoot in the morning when the light is soft and warm.
- West-facing properties: Afternoon is the best time as the light will be warmer.
- North-facing properties: Midday, from 10 am to 2 pm, will provide even lighting throughout the house.
- South-facing properties: Sunrise and sunset offer the best lighting for these homes, with softer and more flattering light.
Before scheduling the shoot, check the weather forecast. Cloudy days can create a dull effect, while bright sunny days can cause harsh shadows.
- Do a Walk-Through Before Shooting
Before you start shooting, take 30-60 minutes to walk through the property. Get a feel for each room, and take note of the property’s style, layout, and any potential challenges, such as small spaces or awkward angles.
Ensure that the space is clean, uncluttered, and well-staged. Take time to identify the best angles for each room and think about how you can showcase each space to its full potential.
- Brighten Up the Rooms
Good lighting is key to creating clear, appealing photos.
To let as much natural light in as possible, keep the windows and curtains open. Shooting in too-dark spaces might make them appear unwelcoming.
If needed, use your camera’s flash or additional lighting equipment like softboxes or reflectors to fill shadows and brighten dark corners.
The goal is to create consistent lighting throughout the property. This way, your photos will not appear mismatched or harsh. In rooms with strong lighting, you may need to adjust the settings on your camera to achieve the perfect exposure.
- Shoot from Different Angles
Variety is important when shooting real estate photos. Don’t stick to just one angle for each room. Experiment with different positions to capture a wider range of shots. Here are a few tips for getting the most out of your shots:
- Shoot from the doorway or the center of the room.
- Keep your camera level, at about a 5-foot height, to avoid distortion.
- Avoid shooting from too high or too low, as this can cause the room to look cramped or out of proportion.
- Capture the Key Features of Each Room
Each room has its focal points. Make sure to capture the best aspects of each space:
- Living Room: Focus on the room’s size and unique features, such as a fireplace or large windows.
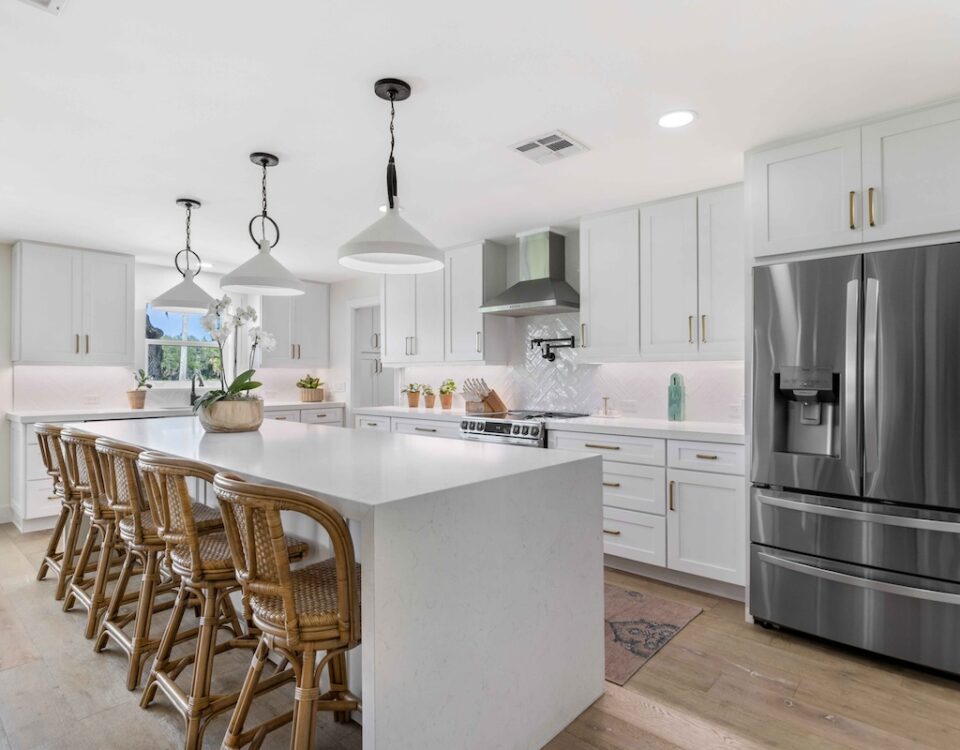
- Kitchen: Showcase the appliances, counter space, and layout.
- Dining Room: Capture the room’s size and any interesting decor.
- Bedrooms: Show off the entire room and any standout features like large windows or built-in closets.
- Bathrooms: Highlight fixtures, such as the shower or bathtub, and ensure the space looks clean and fresh.
If your property has additional rooms such as a home office, gym, or spa, make sure to capture these features as well, showing the potential for luxury or convenience.
- Edit Your Photos
After shooting, it’s time to edit your photos. Real estate photos often require some post-production to fix issues like distortion from a wide-angle lens or inconsistent lighting. You can use editing software like Adobe Lightroom or Photoshop to refine your images.
Some key editing tips include:
- Fix lens distortion: Most editing programs have lens correction features to straighten out wide-angle distortions.
- Adjust white balance: If your images have warm or yellow tones, adjust the color temperature to create a more natural look.
- Use presets: Free presets can help adjust contrast, vibrancy, and sharpness to make your photos look more professional.
If Real Estate Photography Isn’t for You
By following these real estate photography tips, you can create stunning images that highlight your property’s best features.
If you find real estate photography challenging or time-consuming, or if you simply want higher-quality images, you can always turn to a professional. A professional photographer is familiar with the technical aspects, ensuring a polished and attractive final product.
At Seaside Imagery, we specialize in real estate photography services that help you showcase your property in the best light. Whether you need twilight real estate photography, virtual tour, virtual staging, or a full portfolio of images, our team is ready to help.

